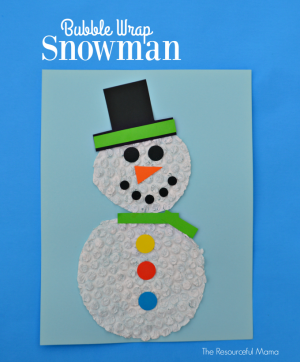
We do a lot holiday shopping online, which means a lot of boxes and packing materials. Bubble wrap is a favorite packing material in our household. The kids love to pop love to it. Actually, who I am kinding, I do too. It’s a great stress reliever! I rescued some bubble wrap from popping and we turned it in a snowman craft.
This post contains affiliate links. See my Disclosure Policy for details.
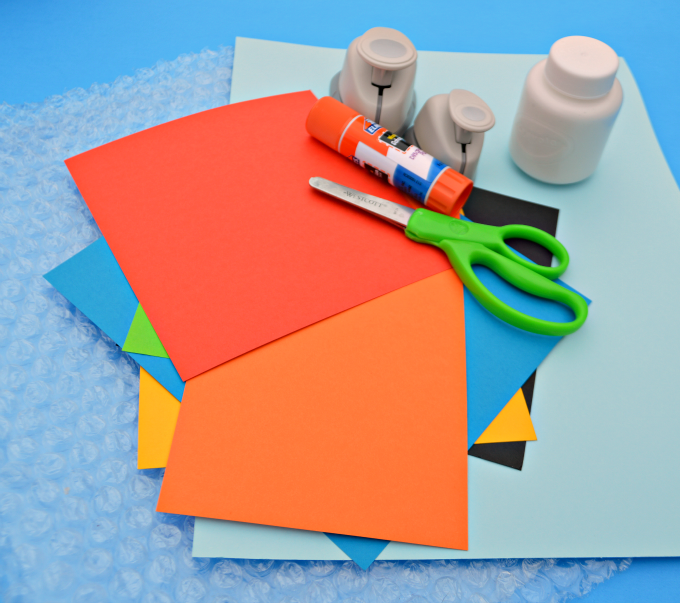
Supplies
- Bubble wrap
- White paint
- Black, orange, and various colors of card stock/construction paper (You only need small pieces from each, so I used scrap pieces)
- Blue card stock (or whatever color you choose for your project)
- Glue stick
- Scissors
- Craft paper punches (optional)
Directions
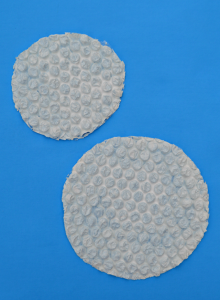
1. Cut out 2 different sized circles from the bubble wrap. I used a small bowl and a cup and traced circles on the back of the bubble wrap before cutting.
2. Paint the circles white and allow to dry. You could also paint the bubble wrap and then cut out the circles, but we found the paint chipped more when we cut it out after it was painted.
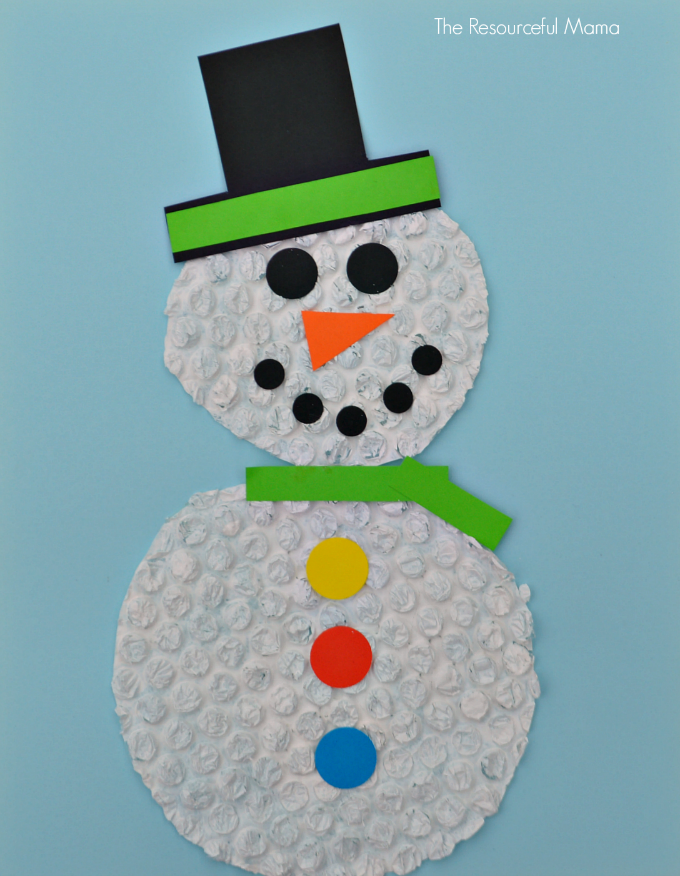
3. Glue the circles to a piece of paper with the biggest on the bottom to form a snowman . I choose to use a light blue piece of card stock.
4. Cut (or use craft punches) 2 black circles for the eyes and about 5 smaller black circles for the mouth. Cut an orange triangle from orange paper for the nose. Glue to the smaller, top bubble wrap circle to form the face.
5. Cut a top hat from black card stock and added a green strip of paper for the band. Glue to the top of the smaller bubble wrap circle.
6. Cut two strips of paper (one longer than the other) for the scarf. Glue the longer strip between the bubble wrap circles. Glue the smaller piece to one end of the stripe at an angle to form the scraf.
7. Cut (or use a craft punch) 3 circles from various colors of paper and glue to the larger bubble wrap circle for buttons.
You Also Might Like