This post contains affiliate links. See my Disclosure Policy for details.
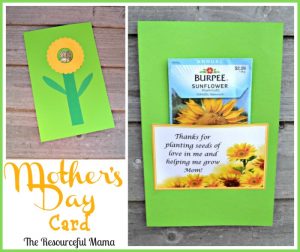
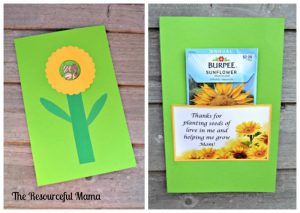
I have a super fun card for mother’s day today. I made these mother’s day cards with the kids a couple of days ago and I am loving how they turned out. This idea came about as I was preparing this post on sprouting seeds that I posted earlier in the week.
What you need for this project:
- green cardstock
- yellow cardstock
- packaging tape
- seeds
- white cardstock
- 3-Inch X-Large Scallop Circle Nesting Punch
- Circle Punch, 1.25-Inch
- craft glue
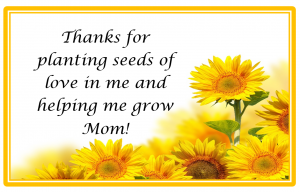
- Seeds of Love printable
- Stem and Leaves printable
Step 1 Fold your green cardstock in half to make a vertical card.
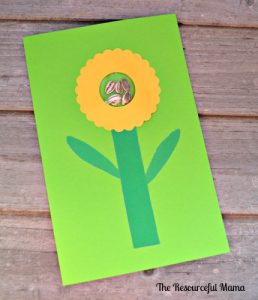
Step 2 Place a few seeds near the top on the front of the card.
Step 3 Place a piece of packaging tape over he seeds to hold them in place. Smooth out the tape to make sure there are no crinkles.
Step 4 Print your stem and leaves on white cardstock. I cut them out for the kids, but you could definitely have the kids cut these pieces out. The kids glued the stem and leaves to the front of the card.
Step 5 Use a 3-Inch X-Large Scallop Circle Nesting Punch to cut out the flower and a Circle Punch, 1.25-Inch to cut out the inside of the flower creating a hole in the middle of the flower. Glue your flower over the seeds, so that the seeds show through the hole.
Step 6 Print out this seeds of love pocket on white cardstock for the inside of card. I also cut this out for the kids, but they could have definitely done the cutting. Help the kids put glue on the edges of the label and glue to inside of card near mid-bottom. Do not glue the top edge. You want it to be a pocket to place seed pack into.
Step 7 Once the glue has dried, place the seed packet in your pocket.
I am thinking about doing these with my Sunday school class. My preschoolers and kindergartens will love making these for their mommies.
Make a card for grandma by printing this pocket: seeds of love grandma.


