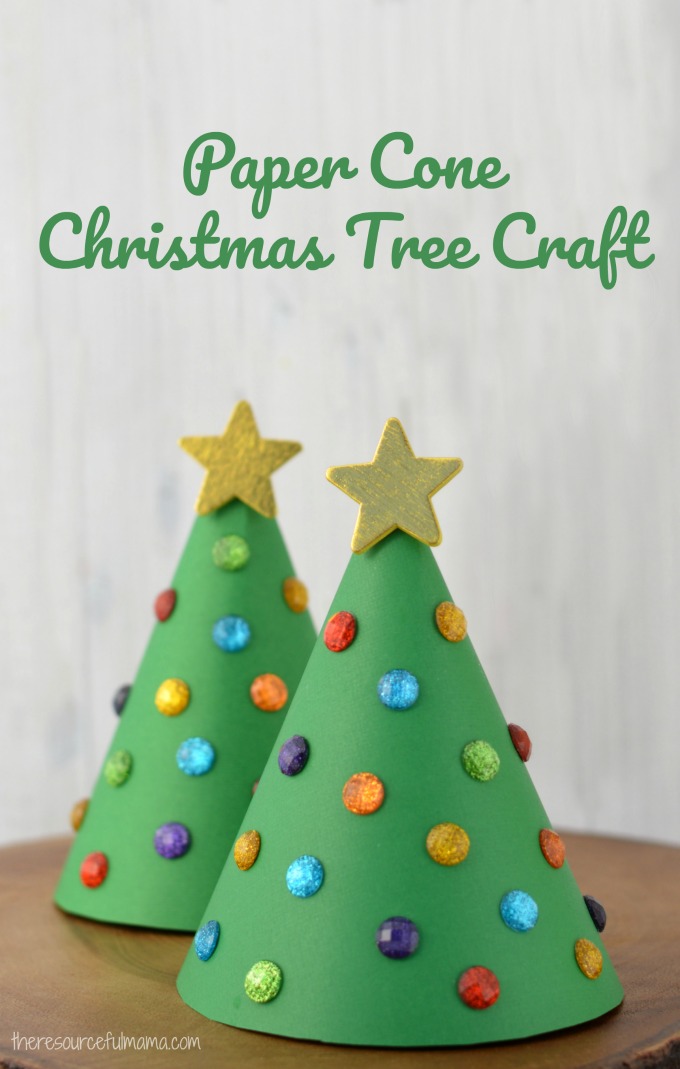
This Paper Cone Christmas Tree Kid Craft added some dimension to our crafting and resulted in a lovely kid made Christmas decoration.
The gemstone stickers we used to make this Paper Cone Christmas Tree Craft caught our daughter’s eye at the craft store recently and she had to have them. She is all about the sparkle right now.
We picked up the gemstones not knowing exactly how we would use them, but soon came up with the perfect project. The idea came to us as we were making our Paper Santa Hat Ornaments and it progressed from there.
Our supplies and final touches are slightly different for this Paper Cone Christmas Tree, but the process of making the tree is the same as our Paper Santa Hat Ornaments.
Supplies
This post contains affiliate links. See the Disclosure Policy for details.
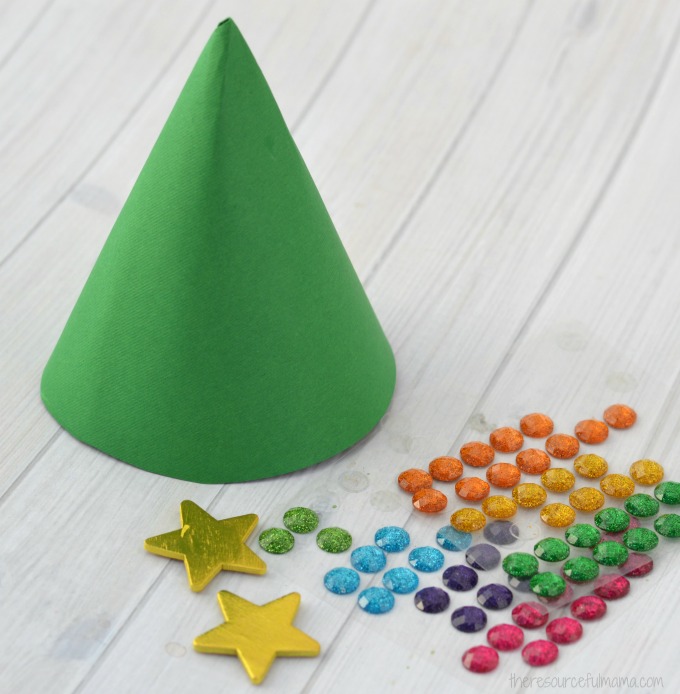
- Green Paper, 12″ x 12″
- Glitter Star Stickers
- Self-adhesive Rhinestone Sticker Bling Craft Jewels
- Scissors
- Glue
We used a piece of 12×12 scrapbook paper to make our paper cone Christmas tree. You could use 8 1/2×11 if you are wanting to make a smaller tree. The smaller sized paper would make a perfect sized paper cone Christmas tree ornament for your tree.
Directions
1. Start off by drawing a large circle on your green paper. We grabbed a plastic Tupperware bowl and traced that onto the paper. You want a large circle. Our bowl was just slightly smaller than the paper.
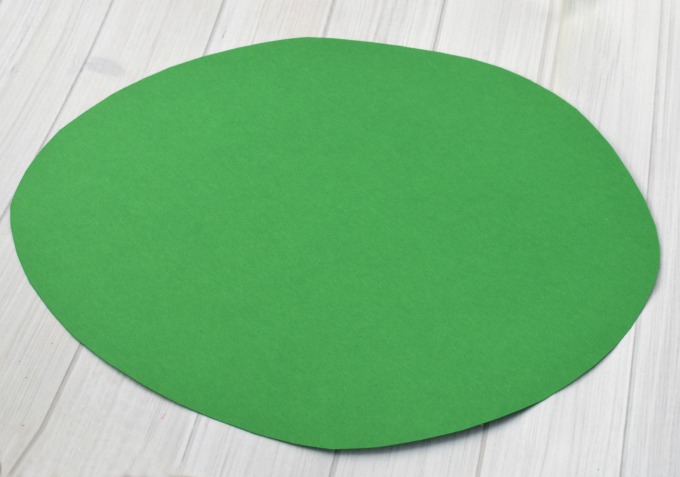
2. Cut out the circle.
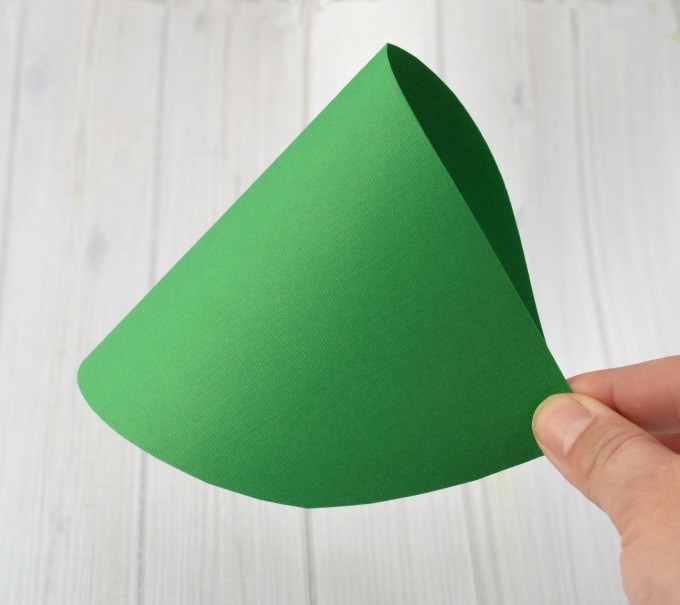
3. Fold the circle in half and cut along the fold, so you have 2 halves.
4. Hold the half circle with the flat side facing up. Bring the two ends together and pull around each other until you have made a cone shape. Glue to secure. The middle will be your point; the top of the Christmas tree.

5. Add a star near the top of the tree and gemstones around the tree.
8. Set out and display with your Christmas decorations.

You can also make a very similar craft using paper plates like Terri did at Creative Family Fun.
You Also Might Like
- Qtip Painted Christmas Tree Craft
- Christmas Tree Ornament
- Kid Made Sequin Christmas Tree Ornament
- Paper Roll Christmas Tree Ornament